Winter Outdoor Learning Activities for Math and Science
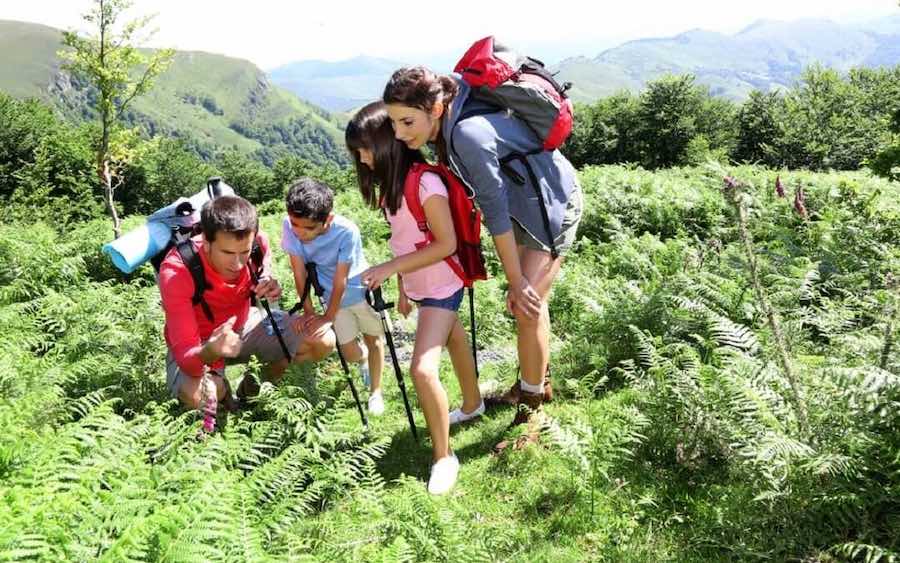
At Walkabouts, we know how important it is to stay active all year long — no matter the weather! The temperature is dropping, but that’s no excuse to avoid the outdoors. Put on your coat, grab a hat and mittens if needed, and head outside for some fun, active, and educational experiences.
PINE CONE CLASSIFICATION
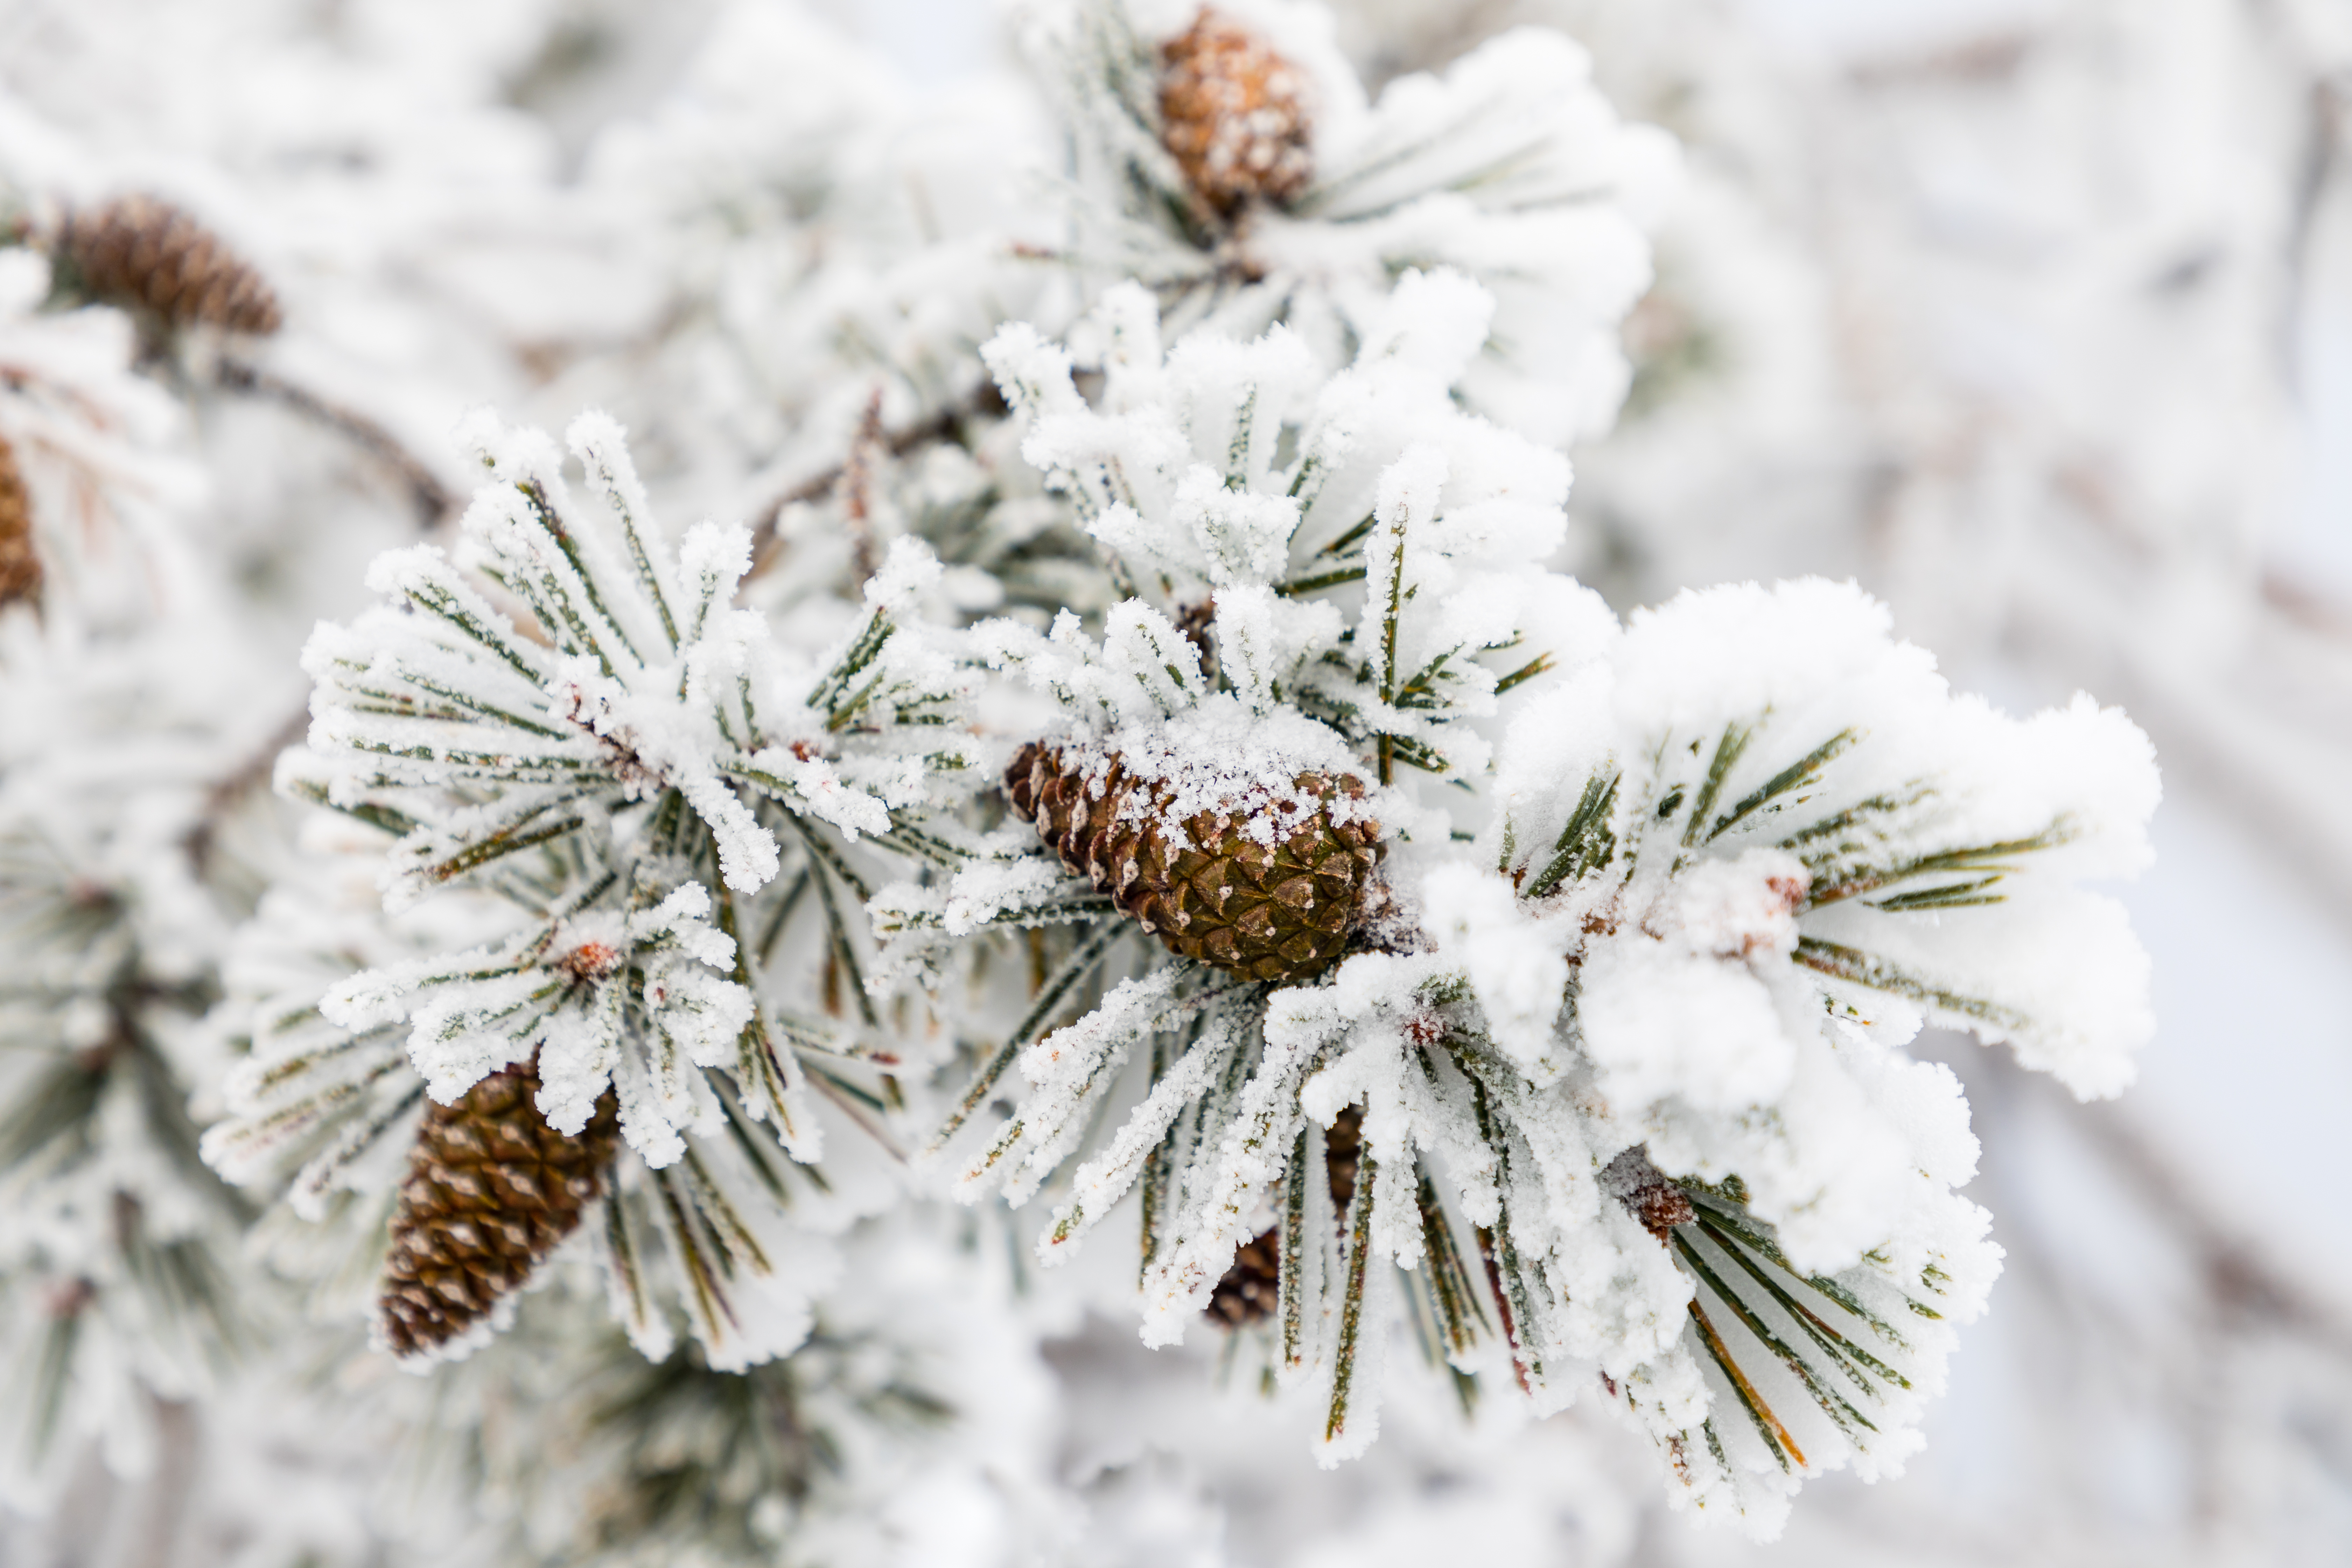
Pine cones are a great natural resource that can be used for a variety of activities. In elementary classrooms, pine cones are often used for arts and crafts, but they are also perfect for academic lessons.
Depending on where you live, you may have pine, spruce, fir, and other trees that bear cones! Throughout this activity, we will refer to cones generically as pine cones.
Pine cones can be found in different shapes, sizes, and shades of brown. Some pine cones are long and cylindrical, whereas others are more round and egg shaped. The shape of a cone helps to identify which type of tree it came from.
Pine Cone Song
Engage students with movement and singing to reinforce the different shapes of pine cones:
Sung to the tune of “I’m a Little Teapot”
I’m a little pine cone long or round,
(Put your arms in a circle above your head for “long” and in front of your chest for “round.”)
In the pine tree is where I’m found.
(Wave your hands above your head like branches of the pine tree blowing in the wind.)
From the branches I fall out,
(Shake your fingers, and move them from shoulder level all the way to your feet.)
“Here comes the pine cone!” you will shout!
(Place a hand on either side of your mouth to mimic shouting.)
Pine Cone Activity
Find a natural area or park with pine trees to search for and collect pine cones. Ask students to gather as many different pine cones shapes as they can in the allotted amount of time. Then, have students take their haul back to their workspaces for sorting and classifying.
Sort by Shape and Variety: If students collected different varieties of pine cones, have them work to differentiate and separate the pine cones based on their shapes. Then, have students research to determine what types of trees the cones came from. Provide books and websites to help students with their research. Regional knowledge of trees in your area will also help you to support students in their identification.
Sort by Size: Instead of classifying the pine cones by variety, ask students to sort them by size. Have students create piles of small, medium, and large pine cones. Ask students to use rulers and measure the length and/or width of each pine cone. Assist students in the measuring if needed. Assign a range for each size to help students determine in which pile each pine cone should be placed.
After the pine cones have been separated by variety or size, have students count the number in category and create a bar graph to show their results. The graph should include the number of pine cones on the y-axis and the categories or sizes of pine cones on the x-axis. If desired, make a large class graph on poster board or a bulletin board using actual pine cones.
Invite a few volunteers to share their graphs with the class. Students can engage the class in counting the number of each type or size.
- To count each type: Everyone could put their arms in a circle above their heads each time they count a long pine cone and in front of their chests for each round pine cone.
- To count each size: Everyone could do a small jump for each small pine cone, a regular jump for each medium pine cone, and a huge jump for each large pine cone.
Be sure to utilize the new supply of pine cones in art projects, seasonal crafts, and other classroom activities — or return them to the outdoors!
STUDYING SNOWFLAKE SYMMETRY
Whether the flakes are flying your way or not, snowflake activities are always of interest to students. Snowflakes are fascinating to study because they are so unique. The science behind snowflake formation is that the crystals are molecularly structured to have hexagonal, six-sided symmetrical shapes.
Indoor Snowflake Symmetry: Human Snowflake
To reinforce the shape and symmetry of snowflakes, have students create a human snowflake. First, students should match themselves to someone who is close in height. Then, each pair should find two other pairs who are similar in height. Choose a group of six students to make the class’s human snowflake. Using a carpeted area or a rug or blanket, have the six students lie down on their backs with their feet touching in the middle as the snowflake’s center.
Have students not in the snowflake model use protractors to measure a 60° angle between the sets of snowflake students’ legs for accurate spacing. Have the snowflake students place both hands above their heads (on the floor) in a V-shape. Finally, have students not in the snowflake model place rulers or pieces of yarn that stretch from one student’s armpit to the next. Take photos of the human snowflake to show to the students who were part of the model. This class-created model will help to reinforce the shape, symmetry, and angles of snowflakes.
Outdoor Snowflake Symmetry: Close-Up Snowflakes
Take your snowflake study outside! If snow is actively falling or has already fallen and collected outside, studying snowflakes is a fun, interactive, and informative way to closely examine the shapes of snowflakes. While you’ll want to bundle up with hats, coats, gloves, and boots to stay toasty during your snowflake study, place your equipment outside ahead of time or cool it in a refrigerator or freezer.
Materials:
- Small scoops to collect loose snow
- Magnifying glasses for close study
- Black construction paper, black felt sheets, or black foam boards for collecting snowflakes
- Mobile phone camera
- Paper and pencils for drawing
If snow is actively falling, have students use the black materials to collect and study individual snowflakes. Ask students to draw what they see (emphasizing the symmetry), or take close-up photos for students to draw when they are back indoors.
If snow is not actively falling, have students carefully scoop a small amount of snow onto the black materials and search for unbroken snowflakes. Ask students to draw what they see (emphasizing the symmetry), or take close-up photos for students to draw when they are back indoors.
If you live in an area without snow, find close-up photos of snowflakes online or in books and allow students to choose a snowflake and draw it.
Studying the details of snowflakes will allow students to see and appreciate the symmetrical structure and unique individual designs of various snowflakes.
Whatever the weather, stay active together, indoors and outside, with these learning activities for winter.
Check out Walkabouts for easy ways to activate elementary lessons with movement — no matter the weather. Discover the power of integrating movement and learning with the Walkabouts plan that’s right for your classroom, school, or district.