
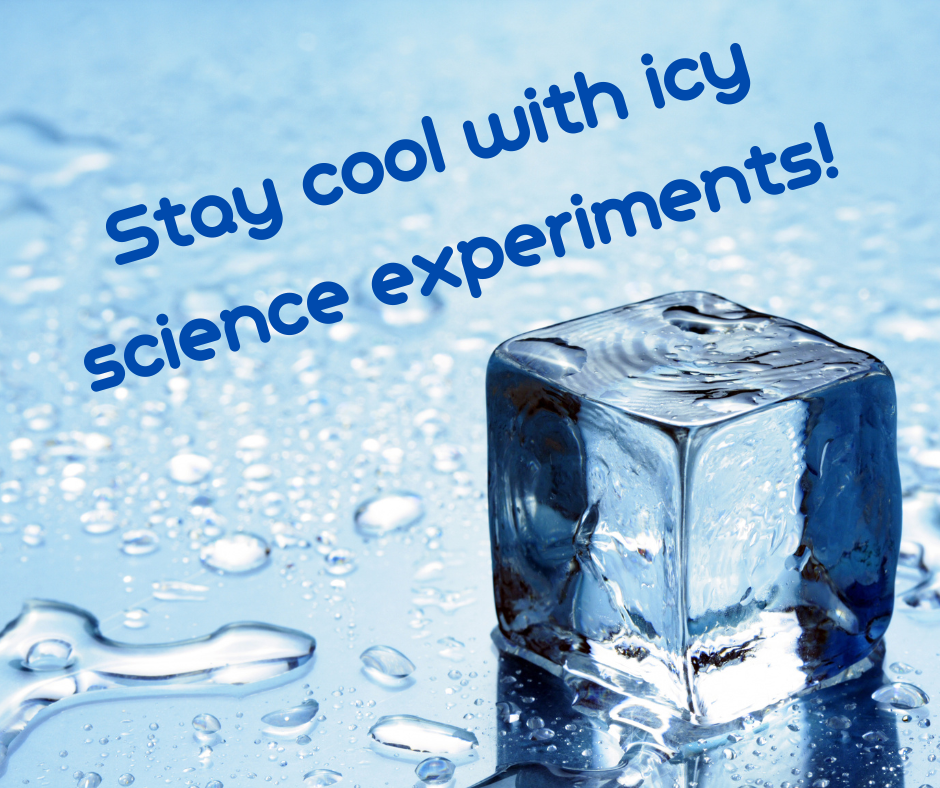
Ice Cold Science Experiments
Summer heat can be tough to beat! Too hot to go outside? Keep cool with these icy science experiments.
ICE MELT AND MEASUREMENT
In this experiment, students will guess the volume of water left in glass containers when ice melts.
Gather the following materials for the experiment: ice cubes, clear glass containers (such as mason jars or mixing bowls), dry erase markers, rulers/measuring tape, measuring cups, scale (optional), indoor/outdoor weather thermometer (optional).
Fill several clear glass containers with a quantity of ice. For multiple identical containers with varying levels of ice, differentiate by keeping track of the number or amount of ice cubes in each container. If using a single container, fill it to the top with ice.
After the containers are filled with ice, use a ruler or measuring tape to note the highest point the ice reaches in each container. Ask the class or groups of students to hypothesize where the water level will be after all the ice has melted. Then, use dry erase markers to mark the hypotheses. If needed, use a different color dry erase marker for each hypothesis.
The indoor melting process will take some time, so be sure to start your experiment early in the day. (For faster melting, put the containers outside in a sunny spot.) Throughout the experiment, note the progression of the ice melt and levels several times during the day. Make the final notation when only water remains. Finally, determine how close the hypotheses are to the final results. Then, using measuring cups, measure the total volume as it translates to the height of the water in the container.
After the results are noted, discuss why water takes up less space in a container than ice. Because ice cubes are solid, there is air between the ice cubes. This air takes up space in a container, dispersing the contents throughout. Water is a liquid that takes the shape of the container from the bottom, and air takes up the space that remains above the water.
To extend the experiment, have students guess whether there will be a change in weight when ice turns into water. First, use a scale to weigh the glass container when it is empty. Then, weigh the container when it is filled with ice. Deduct the weight of the container to determine the weight of the ice. Next, weigh the container when only water remains. Subtract the weight of the container to determine the weight of the water. Finally, note if there is a difference between the weight of ice and the weight of water.
Variation: Fill two containers with equal amounts of ice. Place one inside and one outside. Throughout the day, use an indoor/outdoor weather thermometer to track the temperature inside and outside and how much ice has melted within the same amount of time outside versus inside.
ICE MELT AND MATERIALS - OUTSIDE
In this experiment, students will guess which material will make ice melt the quickest outdoors.
Gather the following materials for the experiment: ice cubes, a variety of flat materials (printer paper, construction paper, wax paper, plastic wrap, aluminum foil, foam, cardboard, wood, etc.) or a variety of outdoor surfaces with equal sun coverage (dirt, mulch, grass, rocks, cement, asphalt, wooden deck, etc.), stopwatch (optional)
Take a bucket of ice and your selected flat materials outside on a hot, summer day. During direct sunlight hours, find a sunny spot, and place each of the flat materials on a flat area. If desired, you may choose to select a variety of outdoor surfaces that have relatively equal sun coverage. Ask students to predict how quickly the ice will melt on each material or surface. Record the predictions from shortest to longest, numbering accordingly. Then, place a single ice cube on each selected material or outdoor surface. Watch the ice melt, recording the results with a stopwatch, if desired. Make observations, and discuss why some materials or surfaces helped to speed up or slow down the melting process.
ICE MELT AND INGREDIENTS - INSIDE
In this experiment, students will guess what ingredients will make ice melt the quickest indoors.
Gather the following materials for the experiment: ice cubes, bowls, spoons, a variety of ingredients such as table salt, kosher salt, rock salt, sea salt, flour, baking soda, baking powder, corn starch, corn meal, etc., stopwatch (optional).
Fill three to five small bowls with equal numbers of ice cubes. Ask students to predict how quickly the ice will melt when introduced to each ingredient. Record the predictions from first to last, numbering accordingly. Then, use a spoon to distribute a spoonful of a different ingredient into each bowls on top of the ice. Be sure one of the ingredients is a type of salt. Next, record the results (with the stopwatch, if desired). Ask students to make observations, and discuss why some ingredients helped to speed up or slow down the melting process.
We hope you can keep the summer sizzle at bay and chill out with these icy science experiments!
Walkabouts are the easiest way to activate elementary lessons with movement. Discover the power of kinesthetic learning from any device, in class or at home! Whether for home or school, a single student or an entire state, there’s a Walkabouts subscription that’s right for you. Click here to sign up for a 30-day trial today!


