Spring Science Experiments
Spring is here — with new life blossoming and blooming outdoors. This season presents a great opportunity to re-engage with the natural world as the weather becomes warmer and new life emerges.
Interactive classroom science experiments allow hands-on experience with the scientific method.
- When students make observations, they begin to pay more attention to and connect with the world around them.
- When students form predictions, they start to build critical thinking skills.
- When students record information, they gather their ideas and put them to paper. They practice writing skills while providing teachers with valuable artifacts of student learning.
Connect with the current season with a couple of fun, engaging, multi-step science experiments that are low cost and low prep.
SPRING SPROUTS
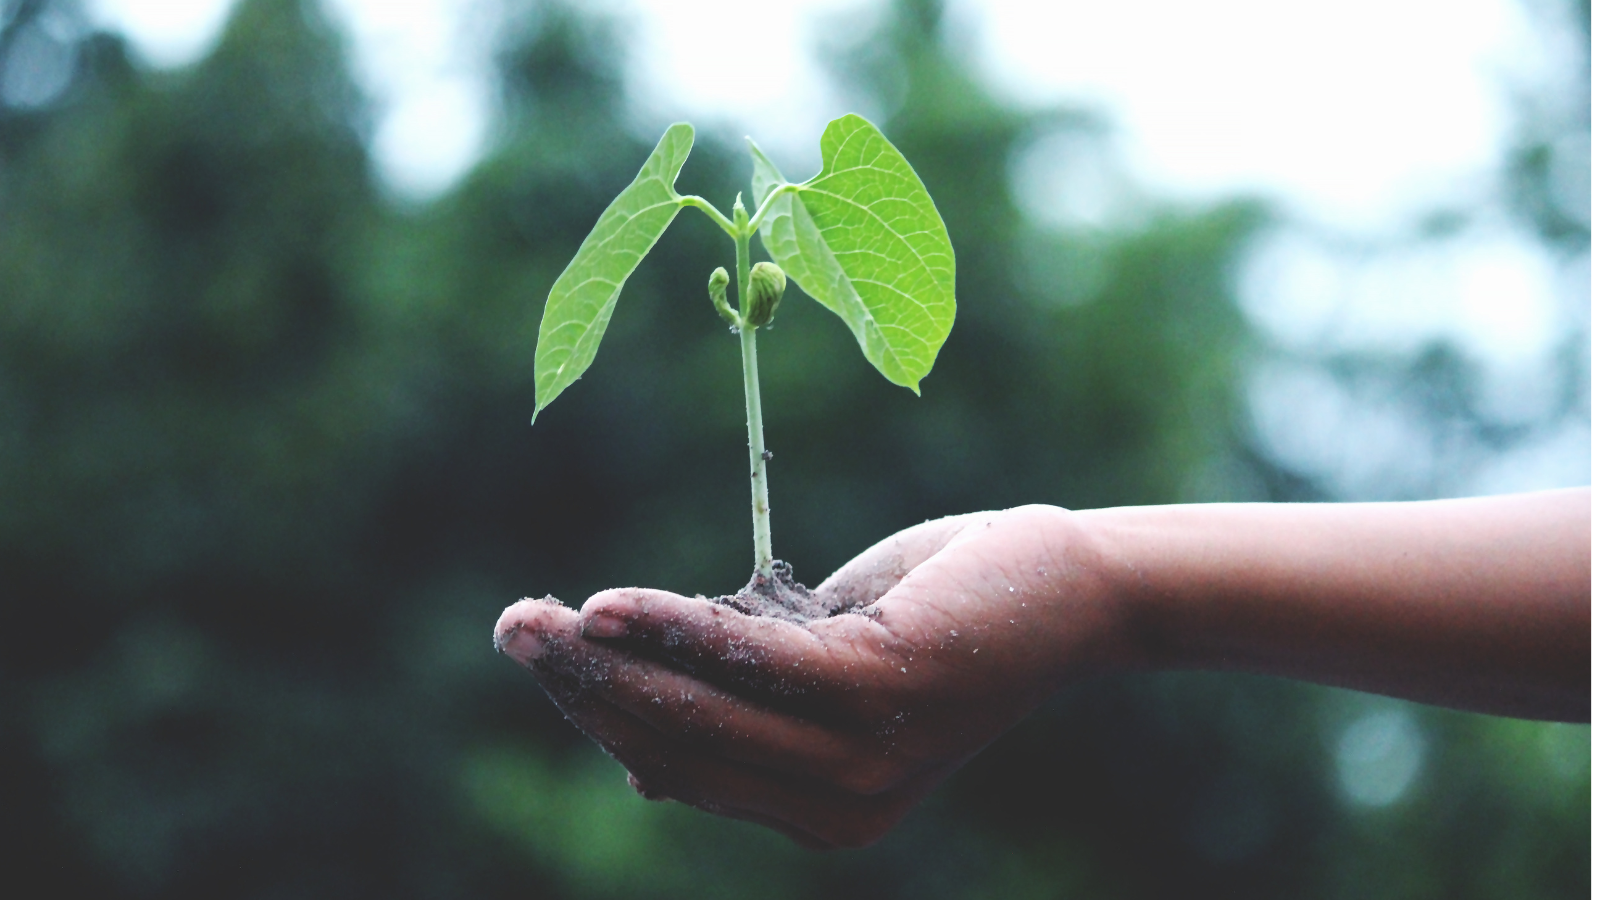
Growing spring sprouts is an engaging way to examine the lifecycle of a seed and the germination process. In the study of seeds, be sure to tell students that everything needed to grow a new plant is inside the pod. Let students become actively involved in the process by providing their soon-to-be plants with other environmental essentials — air, sunlight, and water.
This experiment has flexible materials, and you can use many items you already have. To sprout plants, use beans, peas, or seeds. If you are starting with dried, uncooked beans or peas, pre-soak them overnight. Present students with plant stations throughout the room. Allow small groups to begin at Station One. Stagger the groups’ starting times so students gradually make their way around the room and avoid crowding.
Station One: Provide paper towels, paper pulp, or cotton balls/pads.
Station Two: Provide shallow bowls of water, or allow students to take trips to a sink. Students must fully saturate the material with water without getting it too soggy. Tell students to wring out excess water if necessary.
Station Three: Provide plastic zip-top bags. Write each student’s name on a bag in permanent marker. Have students put the wet material inside the plastic bag and smooth the bag until it is relatively flat.
Station Four: Provide two or three bean/pea/seed options. Have students place the seeds two to three centimeters apart on one side of the wet material. Then, have them seal the bag, keeping the moisture inside.
Station Five: Have students tape their completed bags to a window so that the warm, bright sunlight can help the germination process.
Using plastic zip-top bag instead of planters offers a clear view for students to better understand how germination happens. As students watch their seeds sprout, they will notice the roots growing down to seek water and the stems and leaves pushing upward to collect sunlight and air to help the plants grow.
Because plant sprouting is a relatively quick process, ask students to take daily notes in a growth journal. Growth journals should allow students to record measurements, hand-drawn pictures and/or photos of their plants, and written observations.
After the seeds have grown roots and shoots, students can transfer the plants into soil. Whether in a planter or a garden — at school, in their community, or at home — students can continue to watch their plants grow!
SOIL SEARCH
On a nice spring day, plan a trip to a natural area or a park to perform a soil search. Pair students and encourage them to explore different areas to gather dirt. Make sure students check with you to get approval for places that are OK to dig, and make a note of where they dig (for example, under the big oak tree, in the sunny south corner, beneath a pile of leaves). Provide students with small trowels or shovels to dig up soil samples and trays, plates, or shallow plastic containers to collect soil.
When everyone has gathered a soil sample, have students put on gardening gloves or rubber gloves to examine their dirt. Ask students to make observations about how the soil looks and feels. If available, use magnifying glasses to examine the dirt more closely. Encourage students to uncover other natural aspects within the soil such as rocks, seeds, grass, leaves, plants, bark, insects, and worms.
Before bringing the dirt samples back inside, carefully remove any crawling creatures or wiggling worms. Use paper egg cartons to create mini planters.
Spray or mist the soil, and cover it with plastic wrap. Use toothpicks to poke several holes in the plastic wrap to allow for a bit of air flow. Spray or mist the soil daily.
Each day, watch for what does (or doesn’t) sprout out from the dirt samples. Sprouts could be grasses, plants, trees, or flowers. Do your best to determine what may be growing and learn more about local flora and fauna. Ask students to compare and contrast their results with those of their classmates, noting differences and trends. If desired, have students take daily notes in a growth journal.
Whether venturing outside or bringing a bit of outdoors inside, these science experiments will help students learn what spring is all about!
The Walkabouts platform was created to help kids move more — and learn more! Walkabouts are simple-to-use, cost-effective active learning lessons that help teachers, schools, districts, and parents bring educational standards to life in fun, interactive ways. They’re easy to use in traditional, remote, and homeschool classrooms. Check out the Walkabouts subscription that’s right for you!